I have a new computer, which has me looking up my old documentation on how I encode still photos from a timelapse series into a video file. As I often do, I’m blogging about it now to make it easier to find next time I need to remember what to install and what settings I’ve found work well.
I’ve seen a number of different solutions, but I mostly use MEncoder, a command-line tool.
Installing mencoder and the required libraries using Homebrew is pretty easy if you know what to look for:
brew install ffmpeg --use-clang
brew install mplayer
Encode still photos into a video is a much longer command:
mencoder mf://roman-pool*.jpg -mf w=2816:h=1880:fps=30:type=jpg -ovc x264 -x264encopts subq=6:partitions=all:8x8dct:me=umh:frameref=5:bframes=3:b_pyramid=normal:weight_b:threads=auto -oac copy -o ../roman-pool-natural.avi
In this case, it’s selecting a series of photos matching the name roman-pool.jpg* and encoding them into a video saved one directory up and named roman-pool-natural.avi. The width, height, and frames per second values for the video are crammed together in this argument: w=2816:h=1880:fps=30. I set the FPS as I desire and the resolution to match the photos.
I usually run a couple or more instances simultaneously, keeping my CPU cores very busy. This is a happy sight:
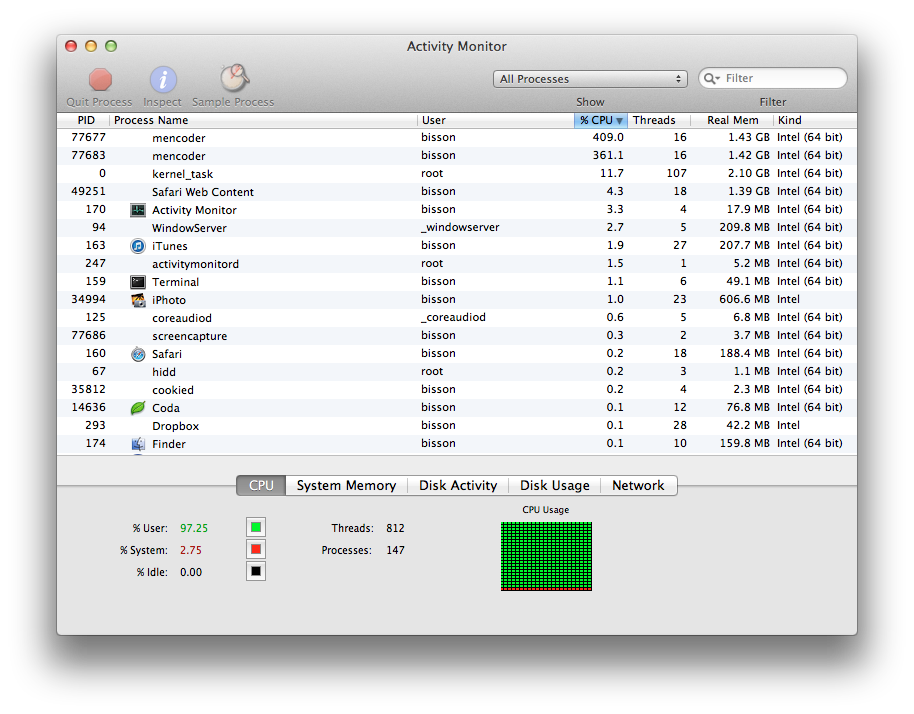
It’s nice to see all eight threads fully utilized.